• Skip to primary navigation
  • Skip to main content
  • Skip to primary sidebar
  • Skip to secondary sidebar
  • Home
  • About me

The Constant Scrapper

If I'm not scrapbooking I'm thinking about scrapbooking!

Janice Daquila-Pardo

Blogtoberfest Day 12

October 12, 2011 By Janice Daquila-Pardo Leave a Comment

Celebrate Blogtoberfest with me all month!

Enveloped in love + freebie

Twisted Sketches has revealed its latest sketch, #123, and the twist is “envelope.” Be sure to head over to the site to grab the sketch, then create something and link it up! 🙂

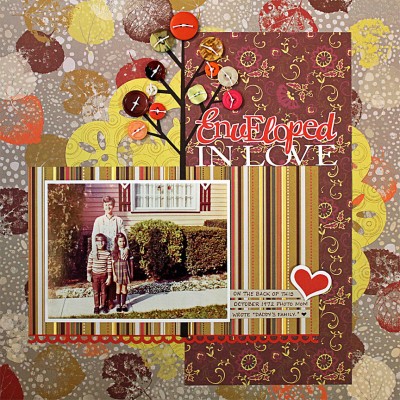
Here’s my Design Team layout inspired by the sketch.

Enveloped_Daquila-Pardo

This is Mom, Phil and me in October 1972 in front of our Willoughby, Ohio, home.

Before I begin work on one of the Twisted Sketches assignments I always spend a little time thinking about possible variations on the “twist.” In this case, the twist was “envelope,” so I knew I could use an actual envelope on the page to either house my journaling or just as a decorative element. But as I turned the word over in my mind I thought of the similar word, “envelop.” If I used the past tense of that word I could still satisfy the twist! The title “Enveloped in love” occurred to me soon after. Then I went on a hunt through my photo organizer for the perfect picture to use with it.

I don’t think I could have found a better photo to represent this idea. It’s of my mom, my brother and me in October 1972. We’re out in front of our house in Willoughby, Ohio. Mom’s arms are actually encircling us. She wrote on the back of the original snapshot, “Daddy’s family.” Everything about this photo speaks of love and being enfolded in it. Happy sigh.

There’s one extra little detail about this photo that tickles me (in addition to the 70s clothes and Phil’s glasses). If you squint you can see two little decals on the window behind us. They are a wee witch and jack-o’-lantern, stuck low on the window for our sakes, I imagine. Such a darling detail, don’t you think?

I created a Silhouette cut file to use for my title. If you think you could use this title on a project of your own and you have a Silhouette, I would be happy to email you the file if you send a request to janice at theconstantscrapper dot com.

Filed Under: Freebies/giveaways, Layouts based on sketches, My scrapbook layouts Tagged With: 1 photo, Blogtoberfest, one-page layouts, Silhouette, Twisted Sketches, vintage photos

Blogtoberfest Day 11

October 11, 2011 By Janice Daquila-Pardo Leave a Comment

Celebrate Blogtoberfest with me all month!

BOOkmark tutorial + freebie

bookmark6

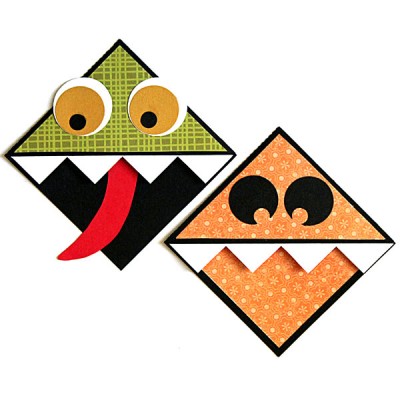
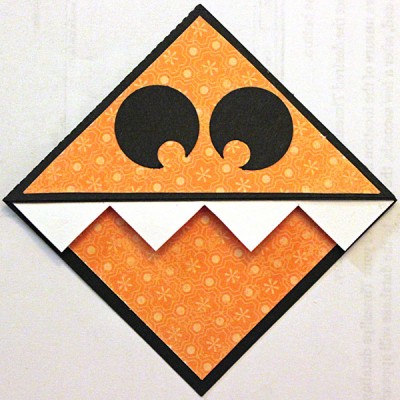
This wee worried monster is quite happy to gobble up your book while he holds your place!

Have you seen any of the fun tutorials for making monster bookmarks—the kind that fit over the corner of the page and look like they’re eating your book? Well, I decided to try my hand at making a few, and in the process I created a Silhouette cut file to use for them. If you like this project and have a Silhouette, I would be happy to email you the file if you send a request to janice at theconstantscrapper dot com.
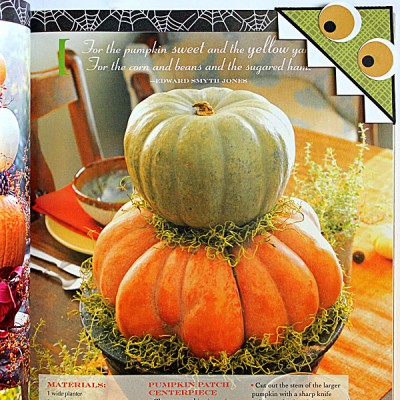
Here’s how mine turned out. I made one into a little worried monster and the other into a little cross-eyed jack-o’-lantern. I think they’re darling:

bookmark5

Slide these little monsters over the corner of your book and let them nibble while they hold your place.

STEP ONE
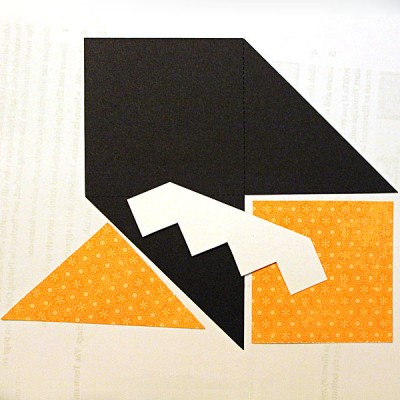
Email me a request for the Silhouette cut file. 🙂 Once you cut the pieces, this is what you’ll have:

bookmark1

These are the pieces you'll have when you use the Silhouette file.

STEP TWO
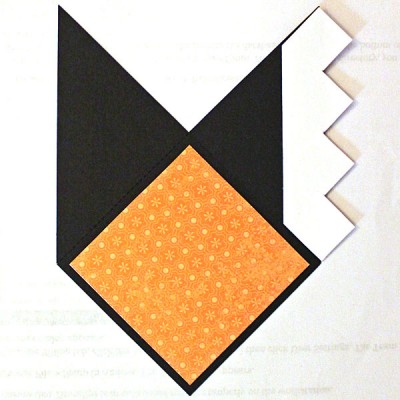
Glue the smaller accent square to the center of the background piece. Then glue the teeth to one of the side triangles.

bookmark2

Glue the accent square to the square portion of the bookmark background.

STEP THREE
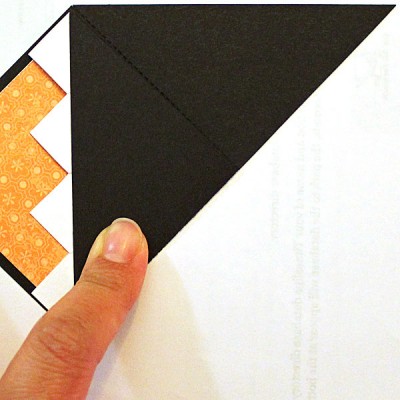
Take a close look at the side triangles and determine which is a sliver smaller than the other. I made the cut file this way so that the sides would lay flatter when you fold them in. Fold the smaller triangle down first. Then apply adhesive to the back of the larger side and fold it down; press.

bookmark3

Fold down the smaller triangle side first.

STEP FOUR
Glue the accent triangle piece to the front and decorate!

bookmark4

I made this one into a jack-o'-lantern!

You’ll notice that I didn’t use the accent square on the green monster bookmark. That’s because I wanted to have his mouth look wide open and feature a slithery tongue. These little guys are so easy to make, and there are a ton of ways to make them different and fun. Wouldn’t they be great to make with your children so they can take them to school and give to friends?

If you make any of these I would love to see them. Will you please leave me a comment and let me know where to look? Now book to your supplies and make some monsters!

Filed Under: Freebies/giveaways, Tutorials Tagged With: Blogtoberfest, Halloween, Silhouette

Blogtoberfest Day 10

October 10, 2011 By Janice Daquila-Pardo Leave a Comment

Celebrate Blogtoberfest with me all month!

Fighting resistance

I’ve just begun to read a book that I had recommended by a group of bloggers. The War of Art by Steven Pressfield aims to help readers overcome resistance so they can become who they are meant to be and achieve “the unlived life within.”

Resistance follows us everywhere we go, doesn’t it? If we want to learn something new, resistance tells us we don’t have the time to learn it or the intelligence to master it. If we want to lose weight or start an exercise program, resistance tells us it will be too hard or we can start tomorrow. And on. And on.

Overcoming resistance for scrapbook bloggers is a two-step dance. We have to overcome our own resistance at pulling out our photos and supplies and creating a project. Then we have to scan or photograph the final project and write about it for our readers. We can successfully win over our resistance on step one and still be bitten by the second step!

So, what do we do about it? To kick resistance, Pressfield stresses loving what one does, having patience and acting in the face of fear.

I will be back to write more about the advice in this book once I’ve finished it. I just thought I would share a little info about it now for my scrappy/blogging friends who are struggling with overcoming their own resistance and might find it helpful.

Filed Under: Uncategorized Tagged With: Blogtoberfest

Blogtoberfest Day 9

October 9, 2011 By Janice Daquila-Pardo 10 Comments

Celebrate Blogtoberfest with me all month!

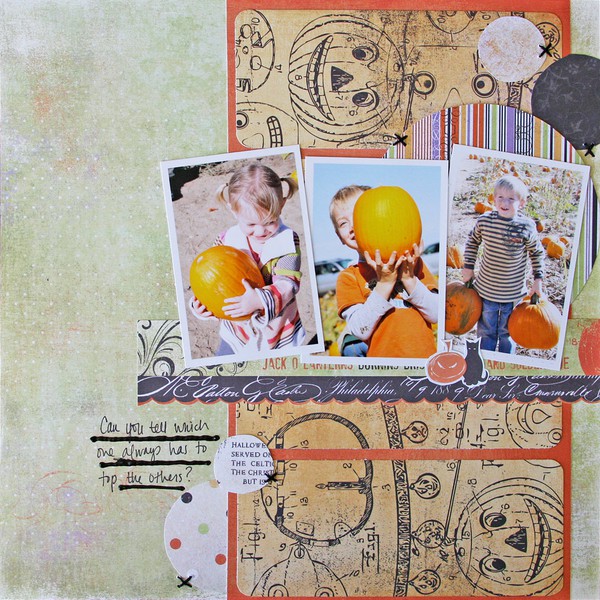
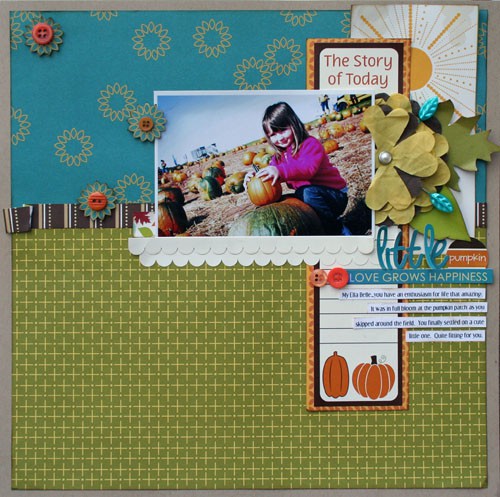
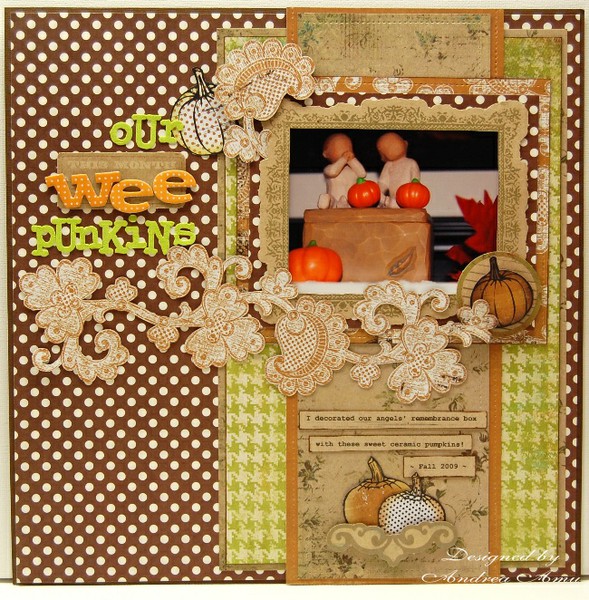
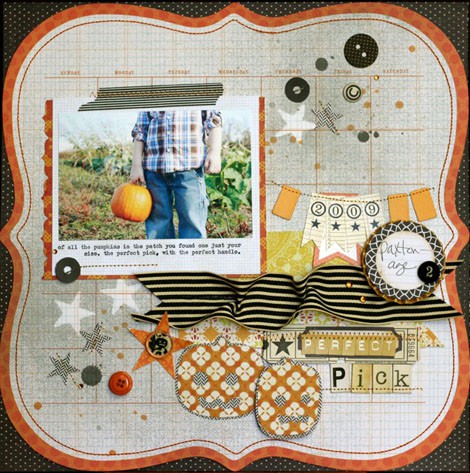
10 Things on the 10th: October—Pumpkins

Many of us who took the online class “Beyond Blogging for Scrapbookers” are participating in a special event on the 10th of each month. In 10 Things on the 10th each participant will share something totally of their own creation. Some will share 10 photos, 10 crafty ideas, 10 sources of inspiration, 10 recipes, 10 things in a collection…always 10 things and always on the 10th of the month.

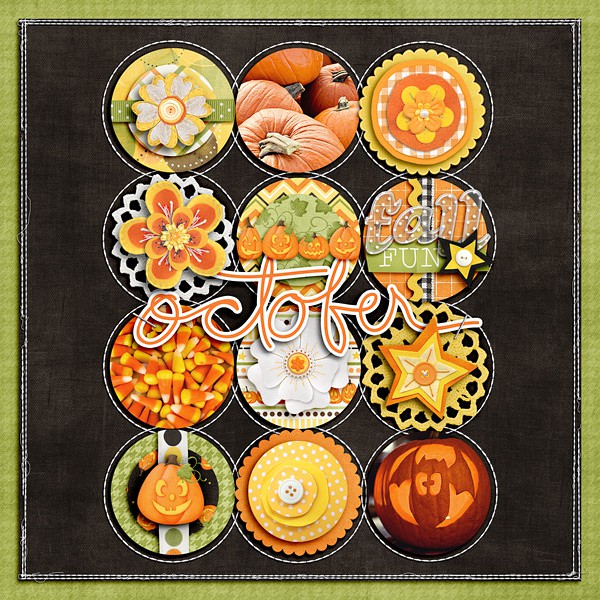
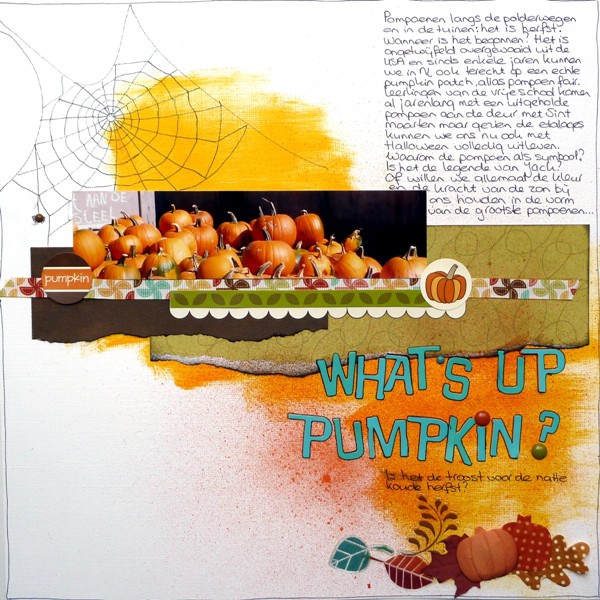
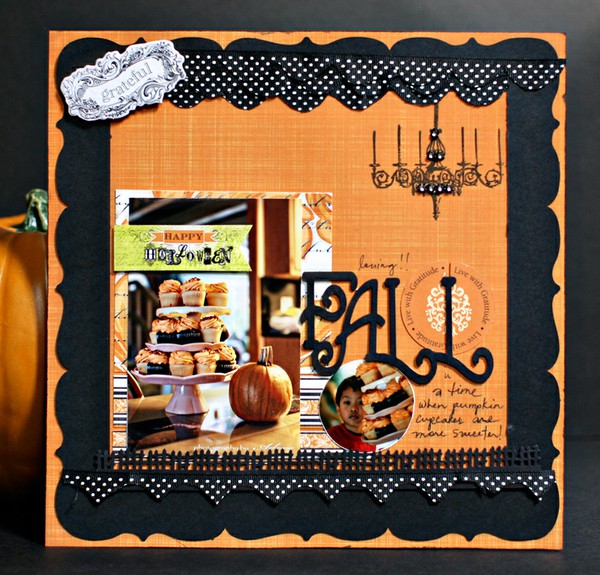
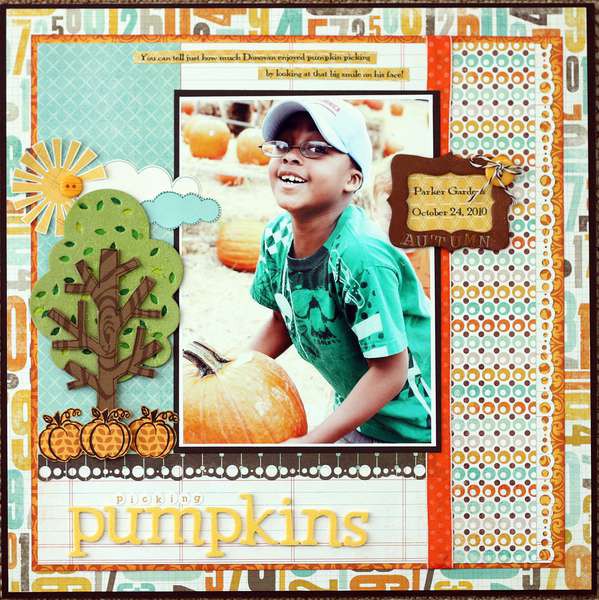
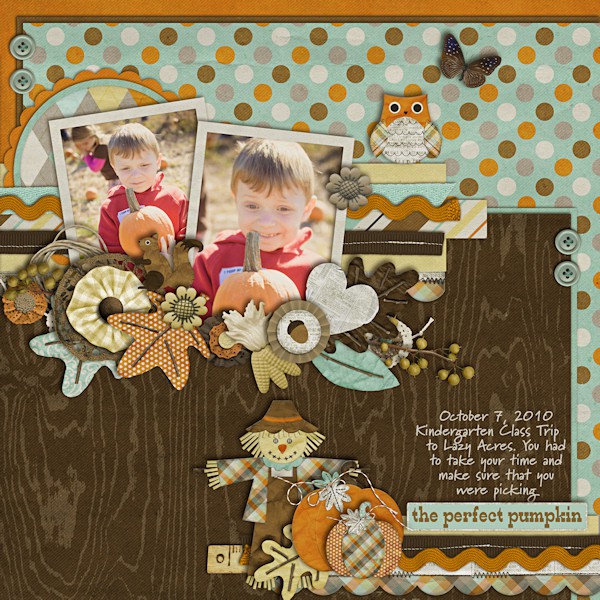
Most of us love pumpkins at this time of year and have plenty of photos to scrap about trips to pumpkin patches, carving pumpkins or eating and drinking pumpkin-flavored food. In celebration of this harvest fruit, I rounded up 10 inspiring layouts from around the Web that feature PUMPKINS:

Nettio
Nettio

Monique Helfrich
Monique Helfrich

adora
Adora

pamelacy
Pamela Young

Stacey Michu
Stacey Michu

scrapcrazed
scrapcrazed/a>

ljbridges
ljbridges

TanishaRenee
Tanisha Renee

nikkiARNGwife
nikkiARNGwife

JanaEubank
Jana Eubank

Filed Under: Uncategorized Tagged With: 10 Things

Blogtoberfest Day 8

October 8, 2011 By Janice Daquila-Pardo Leave a Comment

Celebrate Blogtoberfest with me all month!

Card kit review

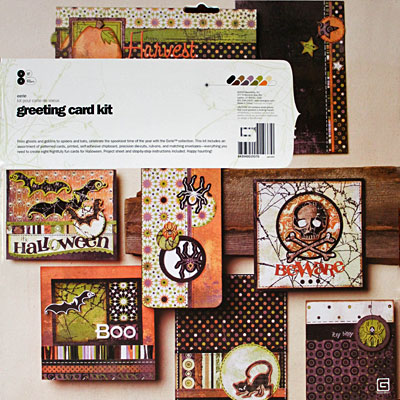
Last year I found a Basic Grey Halloween card kit for sale at Big Lots. It was from BG’s 2009 Eerie collection and cost only $5.00, as opposed to the original price tag of $14.99. I thought that $5.00 might be worth paying to find out if I liked using kits. I don’t normally love the idea of card and layout kits; they remove that part of the crafting process that I love—making all the creative choices. But I also don’t believe in saying I dislike things I haven’t tried, so I bought the kit.

Basic Grey's Eerie card kit

Today I pulled out the kit and the extra supplies it calls for—adhesive, pens, etc.—and got to work. The kit contains everything needed to make eight cards (including envelopes). I made four before writing this review, as I wanted to be able to report on how long it took me to complete several, so we could extrapolate the length of time for the whole kit. Following are my perceptions of the kit and the whole process:

  • The four-page instruction sheet shows a black-and-white photo of each card and lists the step-by-step instructions. It’s well designed and easy to read.
  • There are two sheets of die-cuts and one sheet of self-adhesive chipboard pieces included. Each piece is numbered according to the card it fits. This seems like a good system, but I found locating all the items for one card a little difficult because they aren’t grouped together. But this is just a nit.
  • It took me 76 minutes to complete four cards. At that rate, it would take me just under three hours to finish them all. I am not a speedy crafter by any means, so this is good time for me! Your assessment may differ based on how quickly you can usually create a card.
  • Making these cards confirmed for me that I am not a kit lover. I don’t craft just to have the final project in hand. I want to create; I crave the process. So, punching out precut strips of patterned papers and shapes and gluing them to the base card just doesn’t do it for me. Some designer(s) at Basic Grey got to have the fun that I want out of crafting. I just assembled stuff. Not that fun, really.
  • Just because I don’t like using kits doesn’t mean I think there’s no place for them. If I was in a real hurry and had to have homemade cards for some reason, I might turn to a kit. All the decisions are made for you, and you don’t have any leftover scraps of patterned paper when you’re done.
  • Basic Grey’s kits are quite nice. The instructions are nicely done. Their paper designs are always beautiful. The card sketches are cute but not too complex. So, if you’re looking for a quick way to make eight coordinated and well-designed cards, I can certainly recommend their kits.

Filed Under: Reviews Tagged With: Basic Grey, cards, Halloween

« Previous Page
Next Page »

Primary Sidebar

Thanks for visiting!

Hi, I'm Janice.

Follow me

Follow on Bloglovin

My sketches on Pinterest

Design team

I am a proud Stuck?! Sketches designer!

Past design teams

Scrap & Music sketch designer

Creative Scrappers sketch designer

Sketches With a Twist sketch designer

Sketchabilities design team

Twisted Sketches design team

Secondary Sidebar

Topic categories

  • 12×12 layouts using 6×6 paper
  • Cards
  • Freebies/giveaways
  • Layouts based on sketches
  • Layouts using 3×4 journaling cards
  • My scrapbook layouts
  • Reviews
  • Scrapbook products
  • Sketches
    • My sketches
  • That redo that you do
  • Tips
  • Tutorials
  • Uncategorized

Archives

Tags

1 photo 2 photos 3 photos 4 photos American Crafts banner Basic Grey Bella Blvd Blogtoberfest border punches cards Christmas Copic coloring Crate Paper Creative Scrappers Echo Park emotional journaling Fancy Pants Halloween hand stitching Jillibean Soup Little Yellow Bicycle Making Memories Martha Stewart Crafts My Mind's Eye October Afternoon one-page layouts Pebbles Pink Paislee rosette Scrap & Music sketches scrapbook philosophy Silhouette Simple Stories Sketches with a Twist Sketch Support Spellbinders stamping Stuck?! Sketches Tim Holtz Distress Ink tutorial Twisted Sketches two-page layouts vintage photos We R Memory Keepers

Copyright © 2010-2018 The Constant Scrapper