Blogtoberfest Day 18
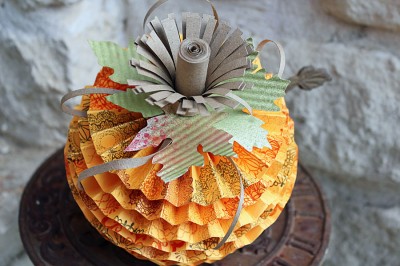
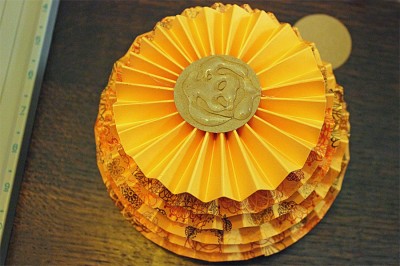
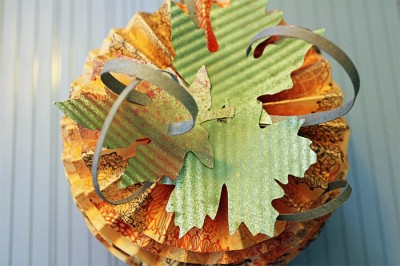
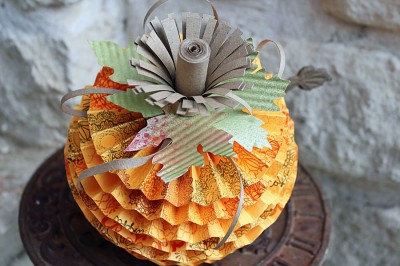
I was in Archiver’s about a month ago looking at new scrapbook products and saw a pretty 3D pumpkin they had made. The store was out of the printed instructions for it, so I took a good look at the sample and came home to try my hand at recreating it. Here is what I produced and what I learned along the way.
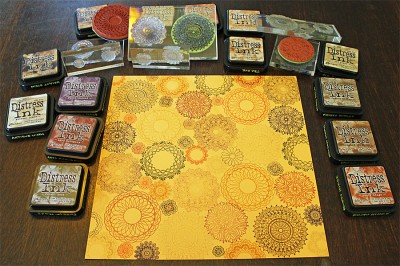
Rather than use printed patterned paper for this I wanted to create my own with cardstock and stamps. For one thing, I really don’t use this technique very often, and I wanted to stretch myself creatively. Second, I wasn’t at all sure how many pieces of paper the pumpkin would take to finish (it ended up being 5), so I thought it would be a good idea to be able to make more as I needed it. I have amassed quite a collection of doily stamps since that trend began (but haven’t used them as much as I’d like), so I decided to pull them all out for this project. I selected a number of beautiful distress ink colors and set to work creating my patterns. Aren’t those doilies yummy?
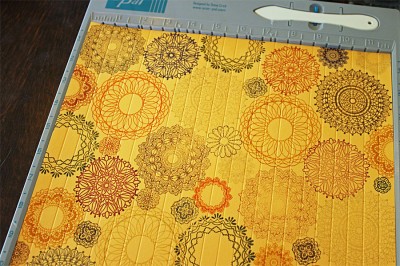
This pumpkin is made of stacked rosettes, so I knew I would be doing a lot of scoring. To save myself time I scored each whole 12×12 piece of paper at one time (every half inch) and then cut it into strips. To make this stack into a sphere shape requires making rosettes of graduating sizes. I have listed all the strip sizes below. Each rosette is made with 2 strips of equal width, so cut 2 of each size.
Number and size of paper strips needed to complete the pumpkin rosettes
| Strip width | # Strips | # Rosettes |
|---|---|---|
| 2 inches | 2 | 1 (for the bottom of the stack) |
| 2-1/4 inches | 4 | 2 |
| 2-1/2 inches | 4 | 2 |
| 2-3/4 inches | 4 | 2 |
| 2-7/8 inches | 4 | 2 |
| 3 inches | 2 | 2 |
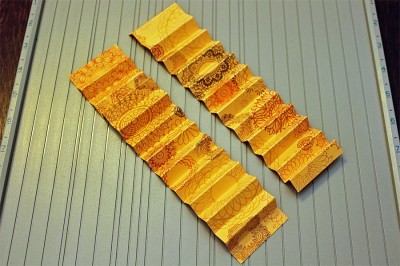
Accordion fold all strips and create your rosettes. I figure that rosettes are so common in paper crafting these days that many of us have made them before, so I’m not including instructions for that part of this project. However, there are probably hundreds of tutorials out there on how to make these little beauties—both in video form and still photo/text—if you haven’t yet tried your hand at them.
Once you have a stack of rosettes, apply hot glue to the center disk of cardstock on each one and adhere them together. Start with the smallest rosette and stack gradually larger circles until you’ve used the largest one, and then start decreasing again. Once you’ve used all your rosettes, you’ll have your base pumpkin shape completed! Here is the order to follow:
- Bottom of the stack: 2-inch rosette
- Next up: 2-1/4 inch
- 2-1/2 inch
- 2-3/4 inch
- 2-7/8 inch
- 3 inch
- 2-7/8 inch
- 2-3/4 inch
- 2-1/2 inch
- Top rosette: 2-1/4 inch. I preferred to leave off a top 2-inch rosette to avoid making my pumpkin look too much like a pineapple!
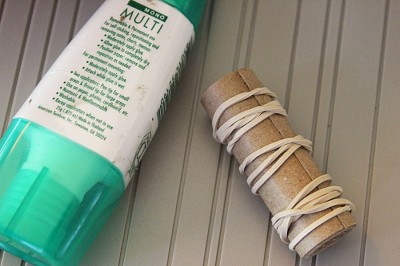
Cut two 1-1/2-inch strips of paper for your pumpkin’s stem. Apply wet glue to one side of the cardstock and start rolling it into a tight cylinder. When you’re about to the end of the first strip, slide in the second and keep rolling. Wrap rubber bands around the roll until it dries.
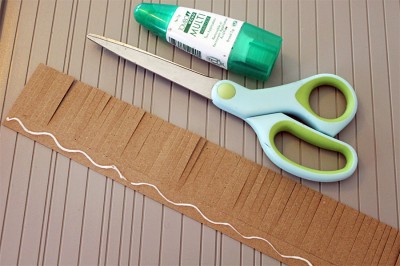
Now it’s time to add some flair to the stem. Cut another 1-1/2-inch strip of the same paper and snip fringe along its entire length. To make sure that I had enough room to apply my glue to the bottom of the strip, I drew a line to guide my fringe cutting. Then wrap the fringe around the bottom of the stem. Bend, curl and primp that fringe until it suits you.
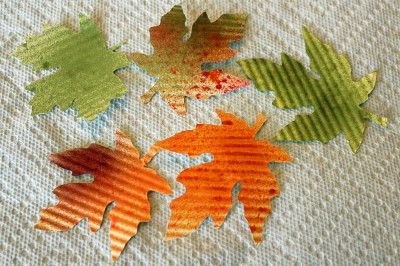
I used my Silhouette to cut some maple leaf shapes. To add texture I ran them through a crimper then spritzed them with a few colors of Glimmer Mist. Pretty!
Add the leaves (I used three) with glue dots. I also cut some very thin strips of paper, curled them and glued those at the top center.
Use hot glue to secure the stem to the base. You’re finished! And you have a beautiful fall decoration to add to your home. 🙂
It occurs to me that one last step that could really add a lot to our little pumpkin is to spritz it with a few hits of pearl Glimmer Mist. I may still do that to mine!
You know that if you make one of these I need to see it. Please leave me a comment with a link to your version. I really enjoyed making this little guy, and I hope you’ll give it a try.


What a gorgeous pumpkin!! I am so amazed you did it all just from looking at a sample in the store! You rock! Thanks for the great instructions – can’t wait to try this. 🙂
Thanks so much for your comment, Jen! I really hope you do try it. It’s darling in real life, and I can’t wait to see it when you’re finished. 🙂
Wow, this is very cool! I hope I can find some time to give it a try!
SOOO cute! Thanks for sharing!
I love this tutorial and now my mind is thinking Christmas tree? HHHHMMMM. This one is a keeper and I just got my Martha scoring board. lots to do for sure! Thanks so much.
I’m so happy to hear you’re going to use this idea, Karen! You’re so right: this technique would be perfect for making a Christmas tree! Enjoy scoring away. 🙂 And thanks so much for visiting.
You did an awesome job on this! Thank you so much for sharing this with us.