Are you a fan of the mustache trend that’s been surging through the design world? I personally think it’s charming, even though I haven’t yet done anything with it. But with Father’s Day coming this weekend I started daydreaming about mustache projects, which led me to a search for online mustache tutorials. Oh. My. Cute.
Below I have pulled together a list of some really clever and easy mustache-themed tutorials for you. What is it that makes fake mustaches so giggle-worthy? I don’t rightly know the answer to that, but I aim to make some of these projects and find out!
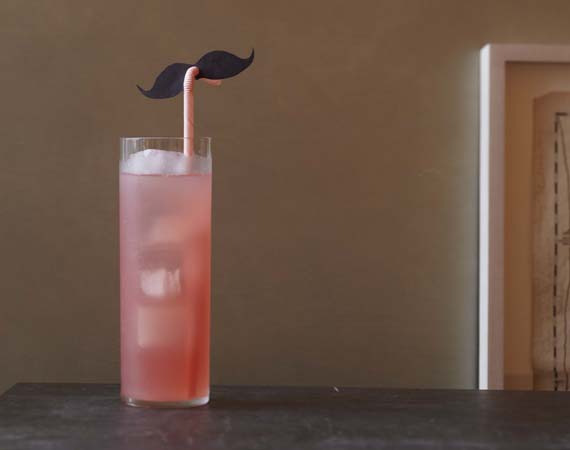
The Etsy Blog Mustache Drink Topper
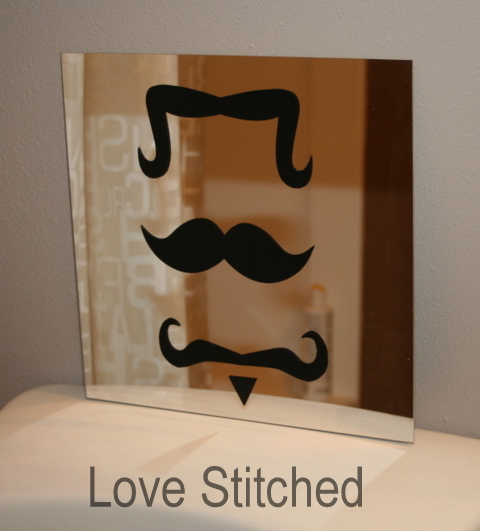
Love Stitched Mustache Mirror Tutorial
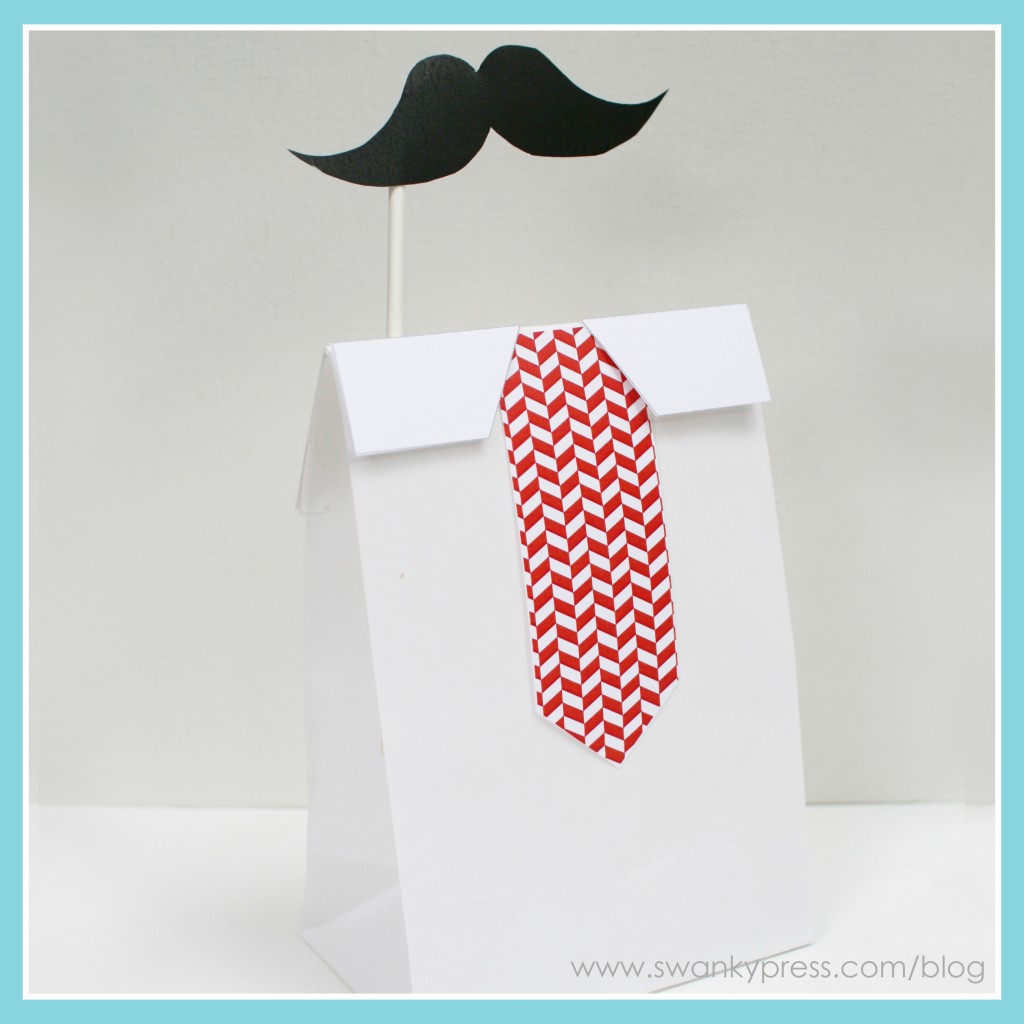
Swanky Press Mustache Bash Favor Bag
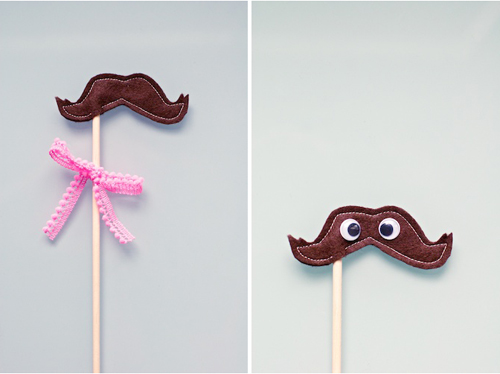
Cheddar Guppies Mustaches on Sticks
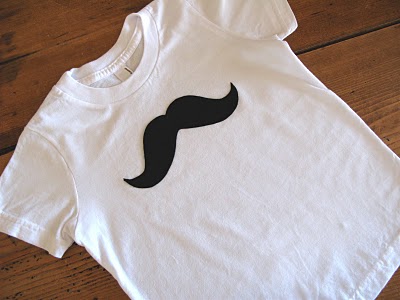
Finley & Oliver Mustache Applique Tutorial
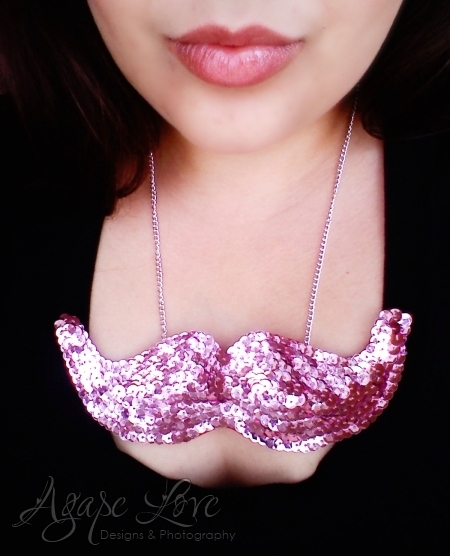
Agape Love Sequin Mustache Bib Necklace Tutorial
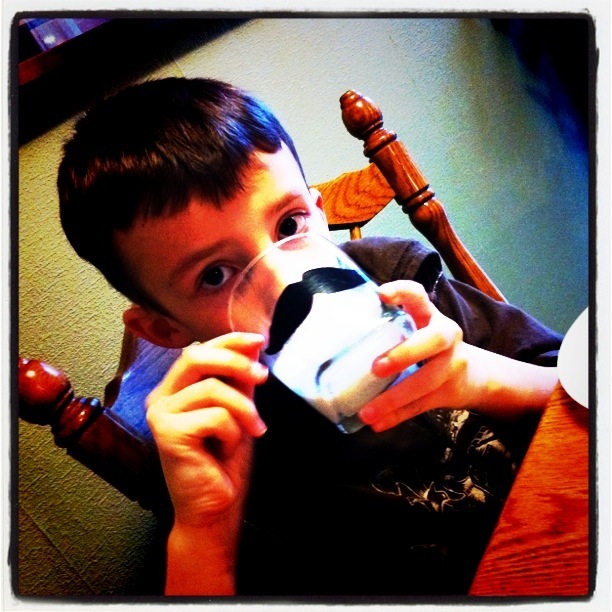
Baby Food Scoops Mustache Glass Tutorial


 When I was ready to scrap these photos I already knew what I wanted to title my layout. So I decided to look to the movie art for inspiration. First I looked up


