If the raw potential of a new year makes you feel like planning, then you might want to make this mini album to use as a way of organizing yourself.
All the products I used to create this came from the Back Porch Memories January kit (thank you to BPM for allowing me to be a part of their design team for the next three months!). The patterned papers are from BoBunny’s “Souvenir” collection.
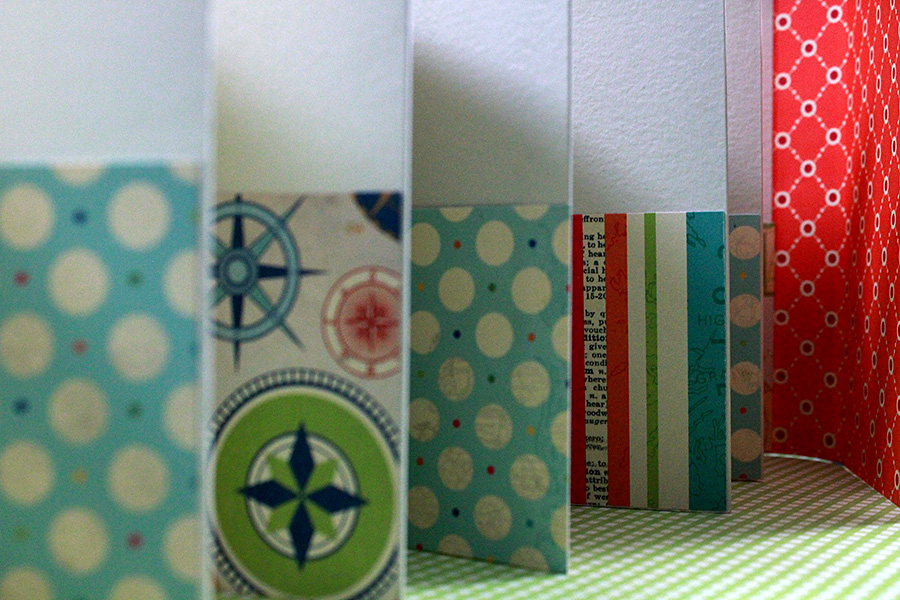
Here’s a view of the inside of the accordion album with pockets on every other page.
You will need:
3 pieces of 12×12 cardstock
1 piece of 12×6 patterned paper
12 4×3 pieces of patterned paper for the pockets
Tutorial
- Score the three pieces of cardstock at 4 inches and 8 inches. Then cut each down into two 12×6 pieces. You will have six scored 12×6 pieces.
- Accordion fold the scored pieces and glue them together by overlapping the end flap of each. This will create an album with 12 two-page spreads.
- Put a thin line of glue around three sides of each 4×3 pocket and adhere them to every other panel, including the back side of the accordion. When you’ve completed this step, on each of the two-page spreads you will have a blank left panel and a pocket on the right panel.
- Make the cover by scoring the 12×6 piece of patterned paper at 3.5 inches, 4.5 inches, 8.5 inches and 9.5 inches. Adhere one end of your accordion to the inside center of the cover.
- Now decorate your cover and either tie a length of ribbon around the whole thing to close it or attach two buttons and wrap with twine, as I did.

Put a thin line of glue around the sides and bottom of each pocket.
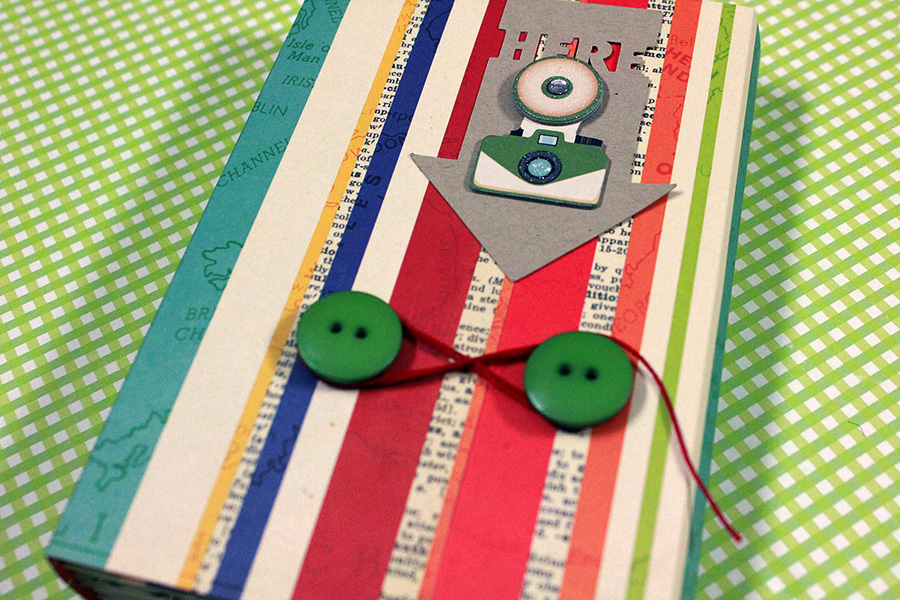
My planner’s cover, decorated and secured with a button-and-string closure.
On the left panel of each spread you can make notes or adhere photos or a calendar. And the pocket panel can be used to stash memorabilia, more photos, etc. I think I’m going to use my album to plan layouts and blog posts! I hope your planner assists you in organizing your new year, too.