• Skip to primary navigation
  • Skip to main content
  • Skip to primary sidebar
  • Skip to secondary sidebar
  • Home
  • About me

The Constant Scrapper

If I'm not scrapbooking I'm thinking about scrapbooking!

rosette

I heart trying new recipes

May 4, 2013 By Janice Daquila-Pardo 6 Comments

NewRecipes_Daquila-Pardo

I cooked this crazy-good Moroccan chickpea, kale and couscous recipe when Phil was in town last December.

I really love the process of reading through recipes, imagining the ingredients coming together to make flavors and textures and then choosing and making one. It’s quite gratifying for me to finish cooking something new. And I love hearing feedback from those I serve it to (usually just Matt, but on the day represented in these photos my baby bro was in town, too).

In fact, I like this process so much that I hardly ever follow a recipe twice. Sure, we have our standby meals that we make over and over. But the ones I try from a recipe book are usually one-timers, even if we love them, because there are just so many out there to try!

Product/technique notes:
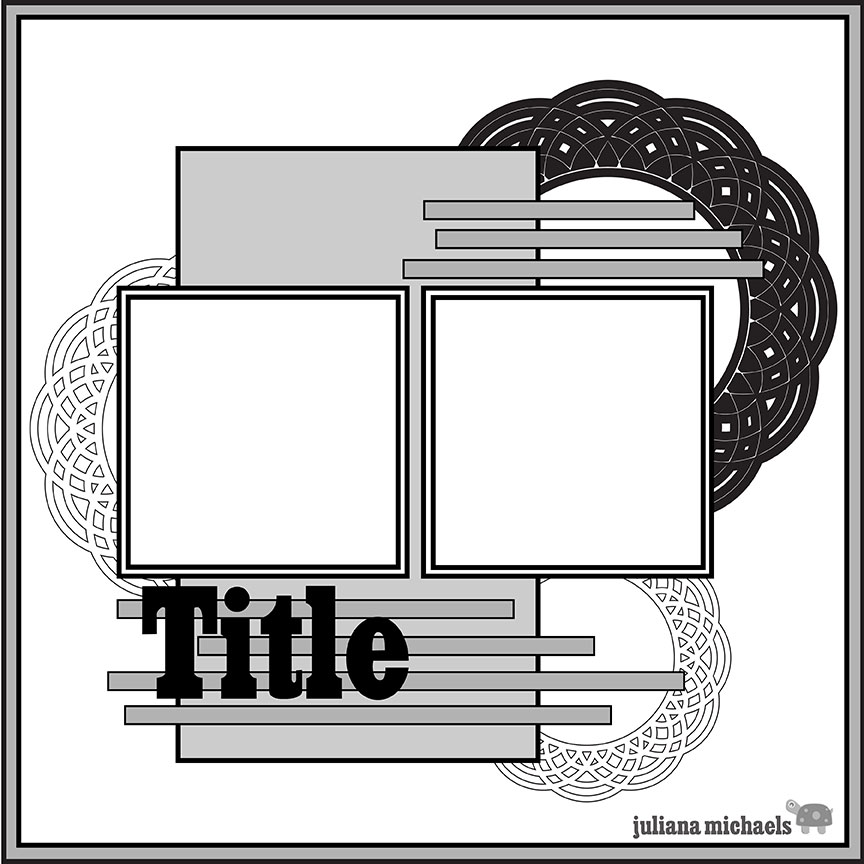
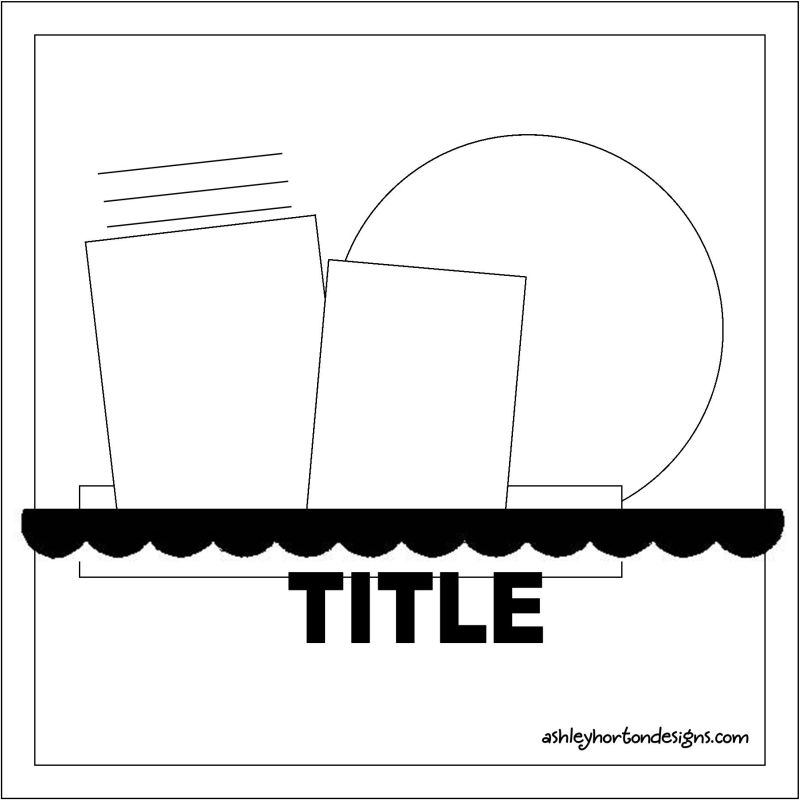
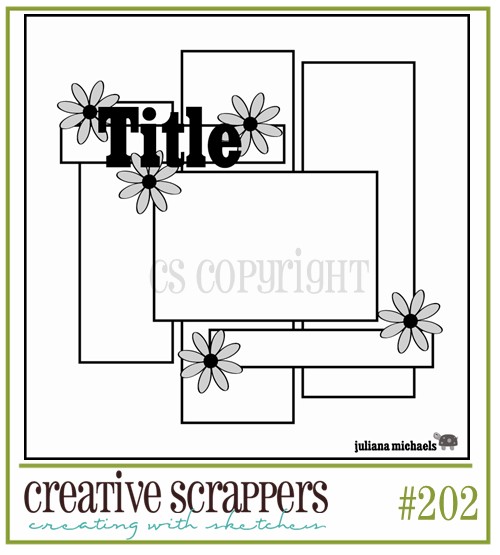
I created this layout using this cool sketch from the Paper Bakery blog, and I’m entering in their sketch contest. The patterned papers are from We R Memory Keepers.
Paper Bakery's sketch by Juliana Micheals

Filed Under: 12x12 layouts using 6x6 paper, Layouts based on sketches, My scrapbook layouts, Sketches Tagged With: 3 photos, one-page layouts, rosette, We R Memory Keepers

Honey & Bunny

October 29, 2012 By Janice Daquila-Pardo 1 Comment

Honey&Bunny_Daquila-Pardo

My layout highlights a photo of Phil and me on Halloween night in 1977. We were all ready to head out for some heavy-duty trick-or-treating.

Because I think it’s kind of funny, let me take a moment to list the elements that made up our costumes that night:

  • Phil’s female impersonator costume: An auburn wig (that we used for many costumes and dress-up sessions over the years); hoop earrings; blush and lipstick; my sweater and skirt; Phil’s sneakers
  • My bunny costume: My pink footie pajamas; construction paper ears; eyebrow-pencil whiskers and nose

I followed the October Club CK sketch, below, and am entering it in the challenge:
Club Creating Keepsakes October sketch challenge

Filed Under: Layouts based on sketches, My scrapbook layouts Tagged With: 1 photo, border punches, Halloween, Jillibean Soup, October Afternoon, one-page layouts, rosette, vintage photos

Food coma

April 21, 2012 By Janice Daquila-Pardo Leave a Comment

FoodComa_Daquila-Pardo

I kept this page simple because I just wanted to highlight the photo and the papers.

When it’s time to be fed Liam just about ricochets off the walls in anticipation. And once we dish up his vittles for him he sort of attacks his bowl. I think it’s safe to say this boy likes to eat a little too much!

But once he’s plowed through his meal and cleaned all the gravy off his face (are you getting the barbaric image I’m trying to paint here?), he turns into this sweet little sleepy baby. He finds a comfy spot and crashes hard. It’s at this point one day that I took this photo of him.

I based this layout on sketch #202 from the Creative Scrappers blog, and I am entering it into their April challenge. I am also entering this into Shimelle’s Online scrapbooking weekend challenge #4: Create a project using yellow, grey and one other color. It’s rather obvious, I’m sure, but I chose to mix yellow and grey with blue.

The Creative Scrappers sketch I referenced while making this layout.

Product/technique notes: I just love the boyish colors and images in the October Afternoon Sasparilla line, so I thought it would work perfectly with this photo of Liam because of his grey markings. I cut the title banner on my Silhouette.

Filed Under: Layouts based on sketches, My scrapbook layouts, Sketches Tagged With: 1 photo, Creative Scrappers, October Afternoon, one-page layouts, rosette, Silhouette

‘Tis near Halloween

October 26, 2011 By Janice Daquila-Pardo Leave a Comment

Celebrate Blogtoberfest with me all month!

Blogtoberfest Day 26

Don’t miss out on my GIVEAWAY!


Twisted Sketches has revealed its latest sketch, #125, and the twist is “black.” Be sure to head over to the site to grab the sketch, then create something and link it up! 🙂

Here’s my Design Team layout inspired by the sketch.

Witch'sHat_Daquila-Pardo

When witches go riding, and black cats are seen, the moon laughs and whispers, 'tis near Halloween.

The simple story behind this photo of me from 1971 is that I had a school Halloween party to attend, so Mom found this witch’s cape for me to wear, and Dad made the hat to match! Don’t I look frightening? 😉

It’s so fun when everything comes together this way on a layout. I thought the Fancy Pants “October 31” collection was perfect for my photo and the sketch. From the witches’ hats background paper, to that apropos quote I cut from another pattern, to the way the striped paper—when folded into rosettes—looks a bit like candy. It all just worked. Then I had a little fun with my Silhouette to complete the scene with the witch, bats and black cat.

I hope you’ll take the sketch out for a spin (on your broom)!

Filed Under: Layouts based on sketches, My scrapbook layouts Tagged With: 1 photo, Blogtoberfest, Halloween, one-page layouts, rosette, Silhouette, Twisted Sketches, vintage photos

Rosette pumpkin tutorial

October 18, 2011 By Janice Daquila-Pardo 10 Comments

Celebrate Blogtoberfest with me all month!

Blogtoberfest Day 18

I was in Archiver’s about a month ago looking at new scrapbook products and saw a pretty 3D pumpkin they had made. The store was out of the printed instructions for it, so I took a good look at the sample and came home to try my hand at recreating it. Here is what I produced and what I learned along the way.

Completed 3D pumpkin project

Gather your supplies: cardstock, adhesive, hot glue gun, scoring board, stamps and inks

Rather than use printed patterned paper for this I wanted to create my own with cardstock and stamps. For one thing, I really don’t use this technique very often, and I wanted to stretch myself creatively. Second, I wasn’t at all sure how many pieces of paper the pumpkin would take to finish (it ended up being 5), so I thought it would be a good idea to be able to make more as I needed it. I have amassed quite a collection of doily stamps since that trend began (but haven’t used them as much as I’d like), so I decided to pull them all out for this project. I selected a number of beautiful distress ink colors and set to work creating my patterns. Aren’t those doilies yummy?

pumpkin1

Cover your cardstock with stamped images.

This pumpkin is made of stacked rosettes, so I knew I would be doing a lot of scoring. To save myself time I scored each whole 12×12 piece of paper at one time (every half inch) and then cut it into strips. To make this stack into a sphere shape requires making rosettes of graduating sizes. I have listed all the strip sizes below. Each rosette is made with 2 strips of equal width, so cut 2 of each size.

pumpkin2

Score the whole 12x12 page at once before cutting the strips you need.

Number and size of paper strips needed to complete the pumpkin rosettes

Strip width # Strips # Rosettes
2 inches 2 1 (for the bottom of the stack)
2-1/4 inches 4 2
2-1/2 inches 4 2
2-3/4 inches 4 2
2-7/8 inches 4 2
3 inches 2 2

Accordion fold all strips and create your rosettes. I figure that rosettes are so common in paper crafting these days that many of us have made them before, so I’m not including instructions for that part of this project. However, there are probably hundreds of tutorials out there on how to make these little beauties—both in video form and still photo/text—if you haven’t yet tried your hand at them.

pumpkin3

Cut all your various strips and accordion fold them.

Once you have a stack of rosettes, apply hot glue to the center disk of cardstock on each one and adhere them together. Start with the smallest rosette and stack gradually larger circles until you’ve used the largest one, and then start decreasing again. Once you’ve used all your rosettes, you’ll have your base pumpkin shape completed! Here is the order to follow:

  1. Bottom of the stack: 2-inch rosette
  2. Next up: 2-1/4 inch
  3. 2-1/2 inch
  4. 2-3/4 inch
  5. 2-7/8 inch
  6. 3 inch
  7. 2-7/8 inch
  8. 2-3/4 inch
  9. 2-1/2 inch
  10. Top rosette: 2-1/4 inch. I preferred to leave off a top 2-inch rosette to avoid making my pumpkin look too much like a pineapple!
pumpkin4

Stack the rosettes to create the pumpkin shape.

Cut two 1-1/2-inch strips of paper for your pumpkin’s stem. Apply wet glue to one side of the cardstock and start rolling it into a tight cylinder. When you’re about to the end of the first strip, slide in the second and keep rolling. Wrap rubber bands around the roll until it dries.

pumpkin5

Apply glue to 2 long strips of cardstock and roll them tightly.

Now it’s time to add some flair to the stem. Cut another 1-1/2-inch strip of the same paper and snip fringe along its entire length. To make sure that I had enough room to apply my glue to the bottom of the strip, I drew a line to guide my fringe cutting. Then wrap the fringe around the bottom of the stem. Bend, curl and primp that fringe until it suits you.

pumpkin6

Cut one more 1-1/2-inch strip of paper to use for the fringe.

I used my Silhouette to cut some maple leaf shapes. To add texture I ran them through a crimper then spritzed them with a few colors of Glimmer Mist. Pretty!

pumpkin7

I cut out some maples leaves, ran them through a crimper and misted them.

Add the leaves (I used three) with glue dots. I also cut some very thin strips of paper, curled them and glued those at the top center.

pumpkin8

Use glue dots to add leaves and curly-ques to the top of the pumpkin.

Use hot glue to secure the stem to the base. You’re finished! And you have a beautiful fall decoration to add to your home. 🙂

pumpkin9

Once you add your leaves and stem, your pumpkin is complete!

It occurs to me that one last step that could really add a lot to our little pumpkin is to spritz it with a few hits of pearl Glimmer Mist. I may still do that to mine!

You know that if you make one of these I need to see it. Please leave me a comment with a link to your version. I really enjoyed making this little guy, and I hope you’ll give it a try.

Filed Under: Tutorials Tagged With: Blogtoberfest, Inkadinkado, My Mind's Eye, rosette, stamping, tutorial

« Previous Page
Next Page »

Primary Sidebar

Thanks for visiting!

Hi, I'm Janice.

Follow me

Follow on Bloglovin

My sketches on Pinterest

Design team

I am a proud Stuck?! Sketches designer!

Past design teams

Scrap & Music sketch designer

Creative Scrappers sketch designer

Sketches With a Twist sketch designer

Sketchabilities design team

Twisted Sketches design team

Secondary Sidebar

Topic categories

  • 12×12 layouts using 6×6 paper
  • Cards
  • Freebies/giveaways
  • Layouts based on sketches
  • Layouts using 3×4 journaling cards
  • My scrapbook layouts
  • Reviews
  • Scrapbook products
  • Sketches
    • My sketches
  • That redo that you do
  • Tips
  • Tutorials
  • Uncategorized

Archives

Tags

1 photo 2 photos 3 photos 4 photos American Crafts banner Basic Grey Bella Blvd Blogtoberfest border punches cards Christmas Copic coloring Crate Paper Creative Scrappers Echo Park emotional journaling Fancy Pants Halloween hand stitching Jillibean Soup Little Yellow Bicycle Making Memories Martha Stewart Crafts My Mind's Eye October Afternoon one-page layouts Pebbles Pink Paislee rosette Scrap & Music sketches scrapbook philosophy Silhouette Simple Stories Sketches with a Twist Sketch Support Spellbinders stamping Stuck?! Sketches Tim Holtz Distress Ink tutorial Twisted Sketches two-page layouts vintage photos We R Memory Keepers

Copyright © 2010-2018 The Constant Scrapper